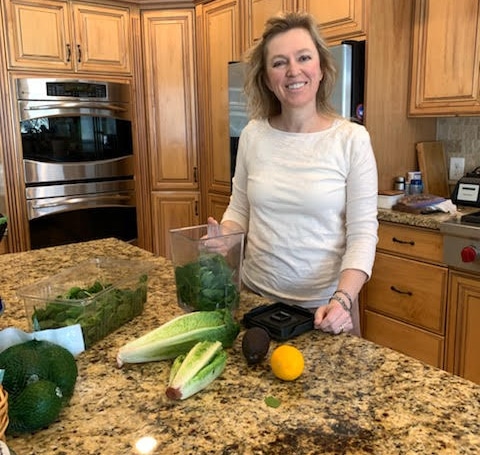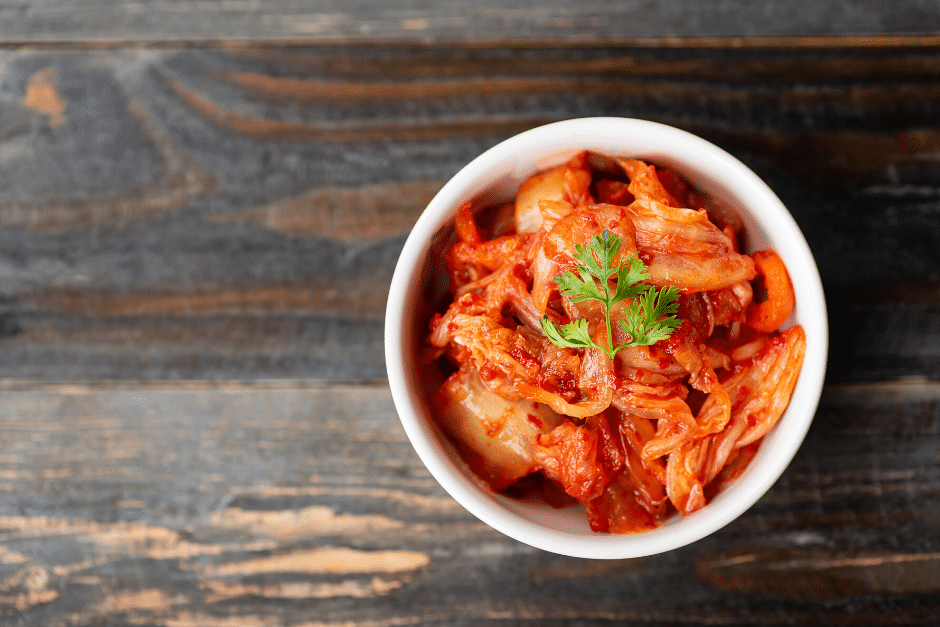

Homemade Korean Kimchi
A simple recipe for authentic Korean Kimchi, full of delicious flavors and healthy probiotics to bring your health to a whole new level.
Servings: 8 cups
Ingredients
- 1 Large Napa Cabbage cored and cut into 1-inch pieces
- 1/4 Cup Sea Salt
- 2 Cups Korean Daikon Radishes cut into matchstick strips (optional, or use carrots)
- 1 Bunch Scallions trimmed and cut into 1-inch pieces
- 1 Tbsp Fresh Ginger sliced (2-3 disks, peels are ok)
- 6 Cloves Garlic, whole
- 1 Red Onion, Quartered
- 2-6 Tbsp Korean-style red pepper flakes not powder, I use the brand gochugaru. See notes to buy it now.
- 2 Tbsp Fish Sauce more to taste
- 2 tsp Sugar
Instructions
Prepare the Cabbage:
- Take 1-inch pieces of napa cabbage and place in a large bowl (see notes). Add salt and toss until salt is evenly distributed. Add enough cool water to cover the cabbage and stir until salt is dissolved. Be sure the cabbage remains submerged in the brine by placing a weighted plate over the cabbage (see note).
- Allow the cabbage to soak in the brine at room temperature for 6-8 hours or overnight.
- Once the cabbage has finished soaking, drain the cabbage and lightly rinse the cabbage. Drain, squeeze out any excess water and place it back in the bowl. Mix in the Korean daikon radish and scallions to the cabbage and stir until combined.
Make the Paste:
- Place the ginger, garlic, red onion, red pepper flakes, fish sauce, and sugar in your food processor. Process until well combined, pulsing, until it becomes a thick paste. Taste the paste and add more Korean-style red pepper flakes until you reach your desired spice level.
Massage in the paste with the cabbage:
- First off, you will want to use gloves for this (See note). Scoop the paste onto the cabbage and (using gloves!), mix and massage the vegetables and paste together really well, until all the vegetables are well coated.
Prepare for fermentation:
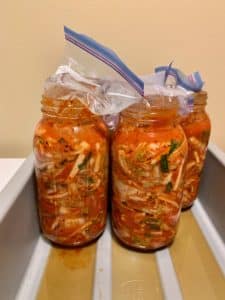
- Take your cabbage mixture and pack it into a large, two-quart jars by continually pushing the cabbage until the jar is filled to about 2 inches below the rim. Pack cabbage into the jar until about 1-2 inches worth of brine/paste mixture pools on top of the cabbage.
- To ensure the cabbage stays submerged in the brine/paste mixture, cover it with a quart-sized Ziploc freezer bag filled ⅓ of the way full of cool water. Be sure that the plastic bag filled with water fully covers the kimchi and the inside of the jar so that no air can get to it. Anything that touches air may mold.
Ferment:
- Place the jar in a container to collect any juices that may escape while fermenting. Leave the jar in a cool place or on the counter for 3 days. Press down on the kimchi mixture daily with the back of a wooden spoon to keep it submerged. Be sure the plastic bag continues to fill the whole top of the jar.
- Between the third and fifth day of the jar sitting out, check for signs of fermentation action or bubbles. Tap the jar and see if tiny bubbles rise to the top. Watch to see if any of the juices have started spilling overflowing - these are signs of fermentation. Once you see bubbles, it is ready to store in the refrigerator where it will continue to ferment and develop more flavor. If, after a few days you still aren’t seeing signs of fermentation, be patient, it may just need more time.
- For a stronger, tangier flavor you can ferment on the counter longer before placing into the refrigerator.
Refrigerate:
- Once you have seen evidence of fermentation, the kimchi is ready to be moved to the refrigerator. Begin by removing the plastic bag from the container and capping the jar with a plastic lid (see note). Place in the fridge and allow to ferment in the fridge for two weeks in order to achieve its full flavor and complexity. The longer you ferment, the more complex and sour the taste will become.
- After two weeks in the refrigerator, it is ready to eat. You can also store it in the fridge for months on end (as long as it remains submerged in the brine) and it will continue to ferment very slowly, getting more and more flavorful. After each use, feel free press kimchi down under the brine.
- Enjoy your homemade Korean Kimchi!
Notes
Adapted From: Sylvia Fountaine (feastingathome.com)
I often make huge batches of Kimchi, so I use a clean camping cooler to soak the cabbage in and use 3 2-quart sized jars for storing.
In order to make sure the plate keeps the cabbage fully submerged in the brine, place a plate on top of the cabbage, then place a bowl filled with water on top of the plate.
If you don’t have gloves, you can use tongs to combine the paste with the vegetables, but I highly recommend using gloves. Whatever you choose to do, be sure that your skin doesn’t come in contact with the paste.
I use a plastic lid to cover the kimchi because the metal lids tend to rust.
You can get the Korean-style red pepper flakes I use here.

Unlocking Relief: Your Guide to Managing Jaw Pain and TMJ Treatment
Unlock relief from TMJ pain with our comprehensive guide to effective TMJ treatment. Learn about causes, symptoms, and non-invasive solutions

You Can Heal Your Teeth! – Simple Tips for Reversing Tooth Decay
You can heal teeth. It’s not voodoo, it’s simple anatomy and chemistry. I’ll happily spend my days teaching more of you how to stay healthy!

Connecting Oral Health and Gut Health for Optimal Wellness
Dr. Michelle Jorgensen Facebook Twitter LinkedIn Email Topics Holistic Health and Wellness Resources Digestive Health Guide Related Products HCL Digest Did you realize that your